How to Install Your House Numbers and Address Plaques
Installing a house number, address plate, illuminated address, or mailbox is a simple step that improves both the visibility and style of your property. Each product type has its own installation method depending on the surface, whether it's brick, vinyl, wood, or concrete. This page guides you step-by-step to easily install your products, regardless of the chosen model.
Click on the product you’re interested in to jump directly to the installation video and steps.
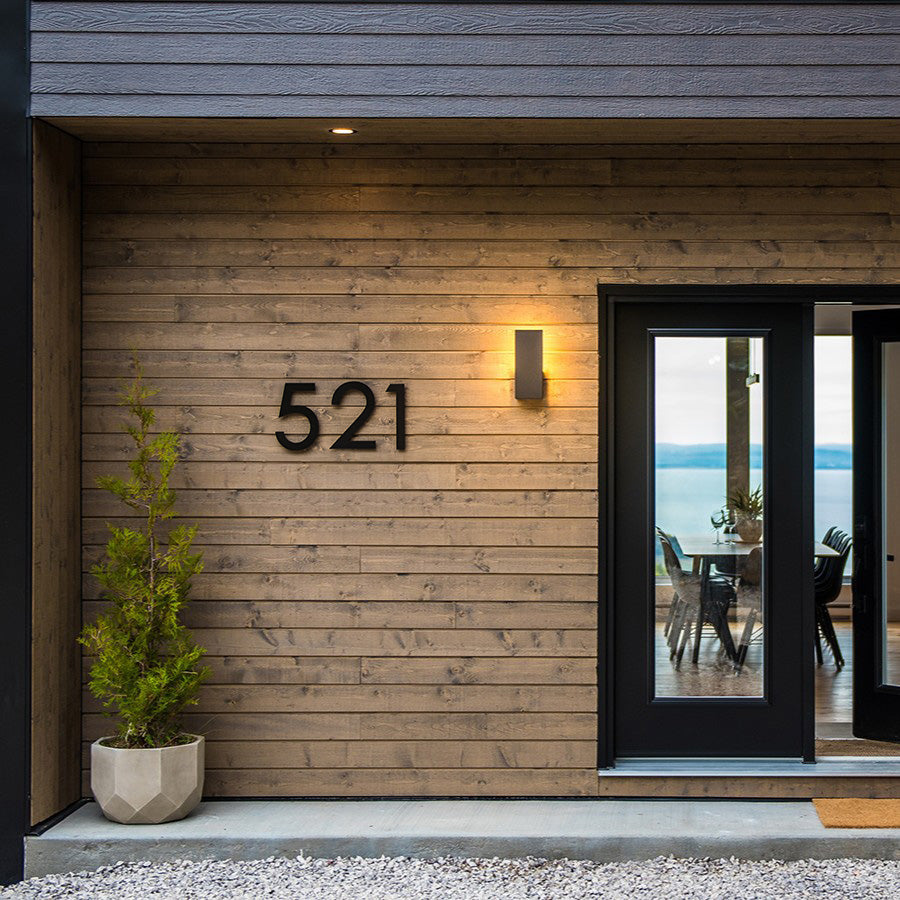
Contemporary, Large Contemporary, or Prestige

- Regular price
-
From
$33.00 - Regular price
-
- Sale price
-
From
$33.00

Installation Steps
- Assemble your template using double-sided adhesive on the back.
- Place the self-adhesive level in the designated spot on the template.
- Mark the holes on the wall using the template and a pencil.
- Drill the holes using a 1/4 inch drill bit and remove dust.
- Screw the threaded rods into the back without over-tightening.
- Add silicone along the entire length of the threaded rods.
- Install your address by inserting the rods into the holes.
Simplified installation
Installing the Contemporary, Large Contemporary, and Prestige models is quick and easy. These floating house numbers are mounted with pins on the back to create an elegant and durable 3D effect. This method is suitable for several types of surfaces, such as brick, wood, concrete, or stone.
You only need a drill. No specialized tools are required.
What's included with your purchase
- Positioning template
- 1/4 inch multi-purpose drill bit
- 10g silicone
- Self-adhesive level
- Mini marker
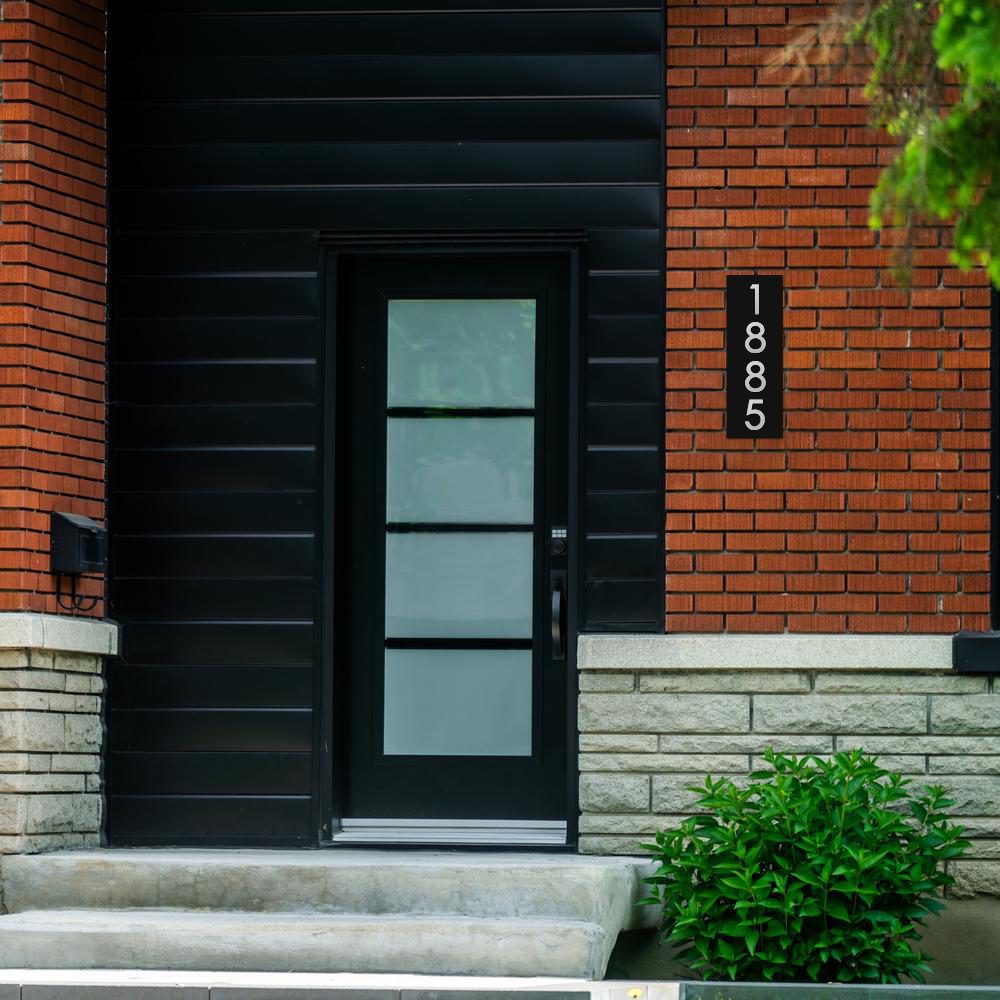
Modern or Modern Large Format

Installation Steps
- Place the self-adhesive level in the designated spot on the template.
- Mark the holes on the wall using the template.
- Drill the holes with a 1/4 in. drill bit and remove dust.
- Apply silicone along the entire length of the threaded rods.
- Install your address by inserting the rods into the holes.
Quick setup
Installing the Contemporary, Large Contemporary, and Prestige models is quick and easy. These floating house numbers are attached with rods at the back to create an elegant and durable 3D effect. This method is suitable for various types of surfaces, such as brick, wood, concrete, or stone.
All you need is a drill. No specialized tools are required.
What's included with your purchase
- Positioning template
- 1/4 inch all-purpose drill bit
- 10g silicone
- Self-adhesive level
- Mini marker
Installation on vinyl or aluminum siding

- Regular price
-
From
$33.00 - Regular price
-
- Sale price
-
From
$33.00
Installation steps
Method 1 — Drill Installation
- Assemble your template using the double-sided adhesive on the back.
- Place the self-adhesive level in the designated spot on the template.
- Mark the holes on the wall using the template and a pencil.
- Drill the holes using a 1/4 inch drill bit and remove dust.
- Screw the threaded rods into the back without over-tightening.
- Add silicone to the first half of the threaded rods.
- Install your address by inserting the rods into the holes without pushing them in completely.
- Hold in place with adhesive for 24 hours, then remove the adhesive.
Method 2 — Spacer Installation
- Place the self-adhesive level in the designated spot on the template.
- Mark the holes on the wall using the template.
- Drill the holes with a 1/4 inch drill bit and remove dust.
- Screw the threaded rods into the back without over-tightening.
- Add a spacer using a 1/4 inch vinyl tube onto the rods.
- Add silicone after the spacer.
- Install your address, then hold in place with adhesive for 24 hours.
- Remove the adhesive after drying.
Spacers are not included. You can use a 1/4 inch vinyl tube available at hardware stores or choose our aluminum spacers for an even simpler and more uniform installation.
Installation on a covering with a hollow space behind
For claddings such as vinyl or aluminum, which leave a void at the back and offer little fastening surface, a suitable installation method is recommended. Two methods are possible depending on your installation.
What's included with your purchase
- Positioning template
- 1/4 inch multi-purpose drill bit
- 10g silicone
- Self-adhesive spirit level
- Mini marker


Installation Steps
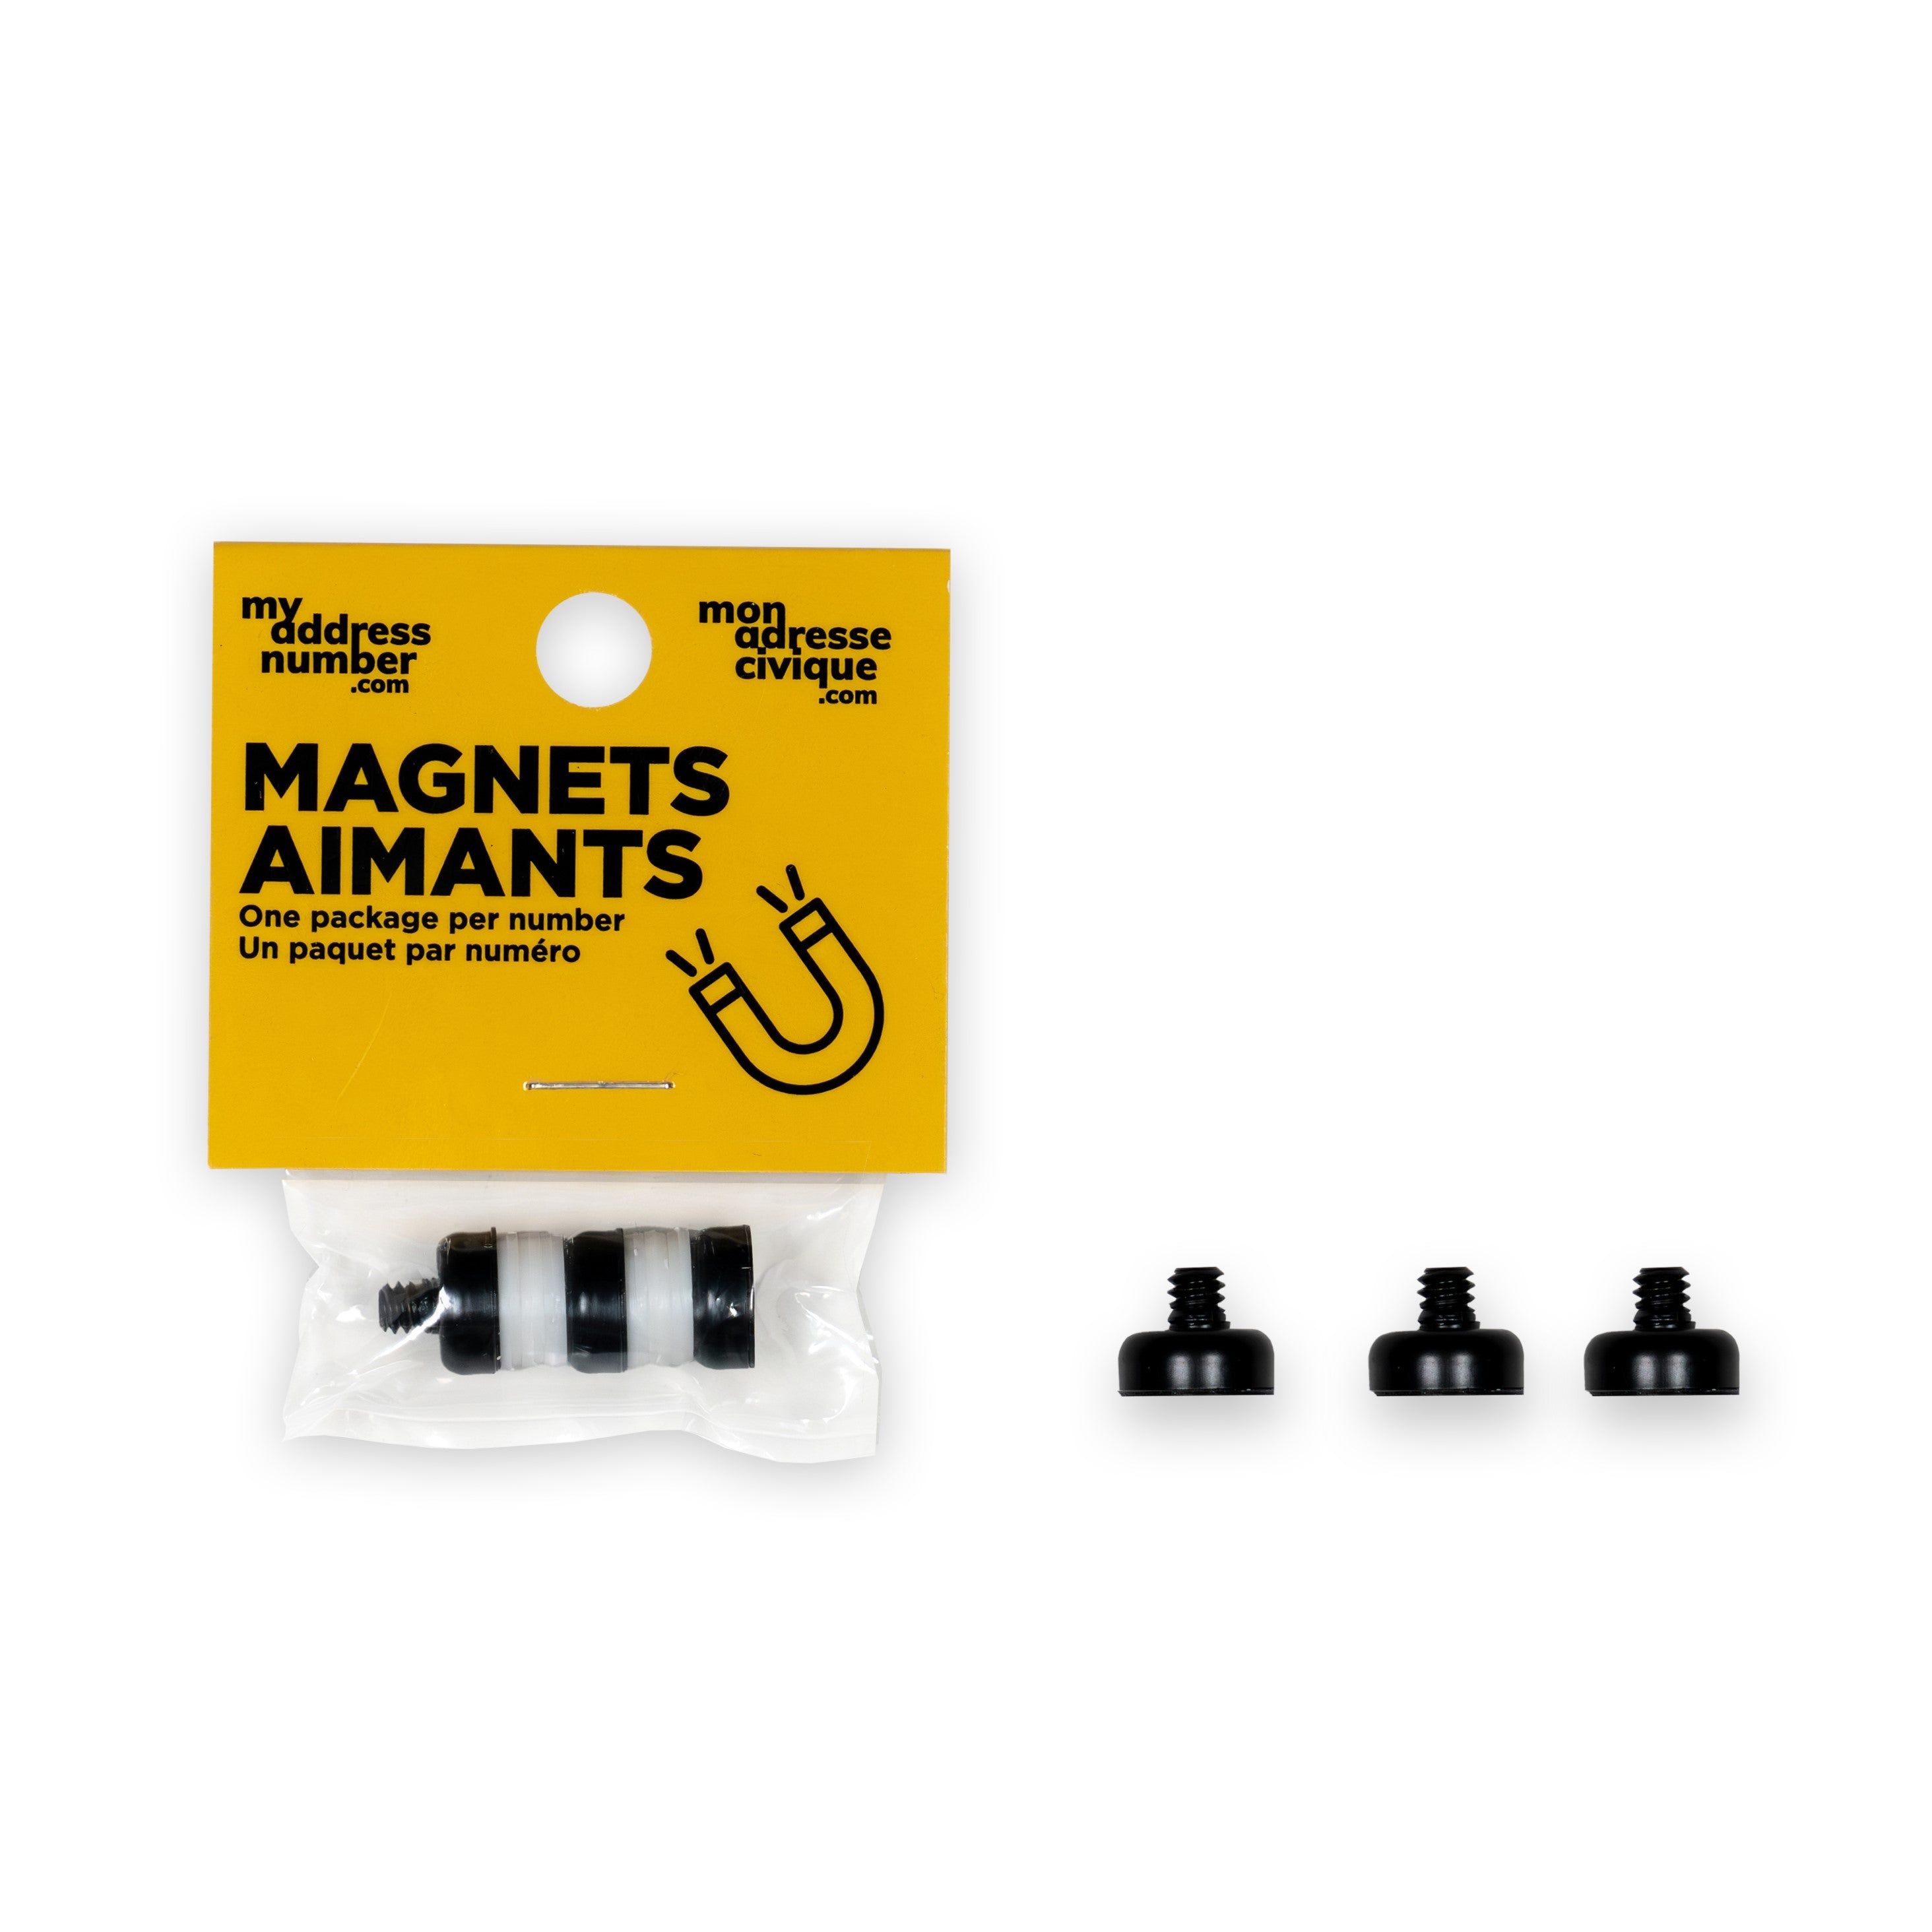
- Screw the magnets into the spacers on the back of the numbers.
- Position your numbers directly on the metal surface.
We suggest removing the numbers once per season to clean the surface and remove any accumulated dust.
No-drill installation
Magnetic numbers are designed for steel surfaces such as doors, garage doors, or certain metal sidings. This option allows for quick, tool-free installation without drilling.
What's included with your purchase
- Your numbers
- The magnets needed for each number
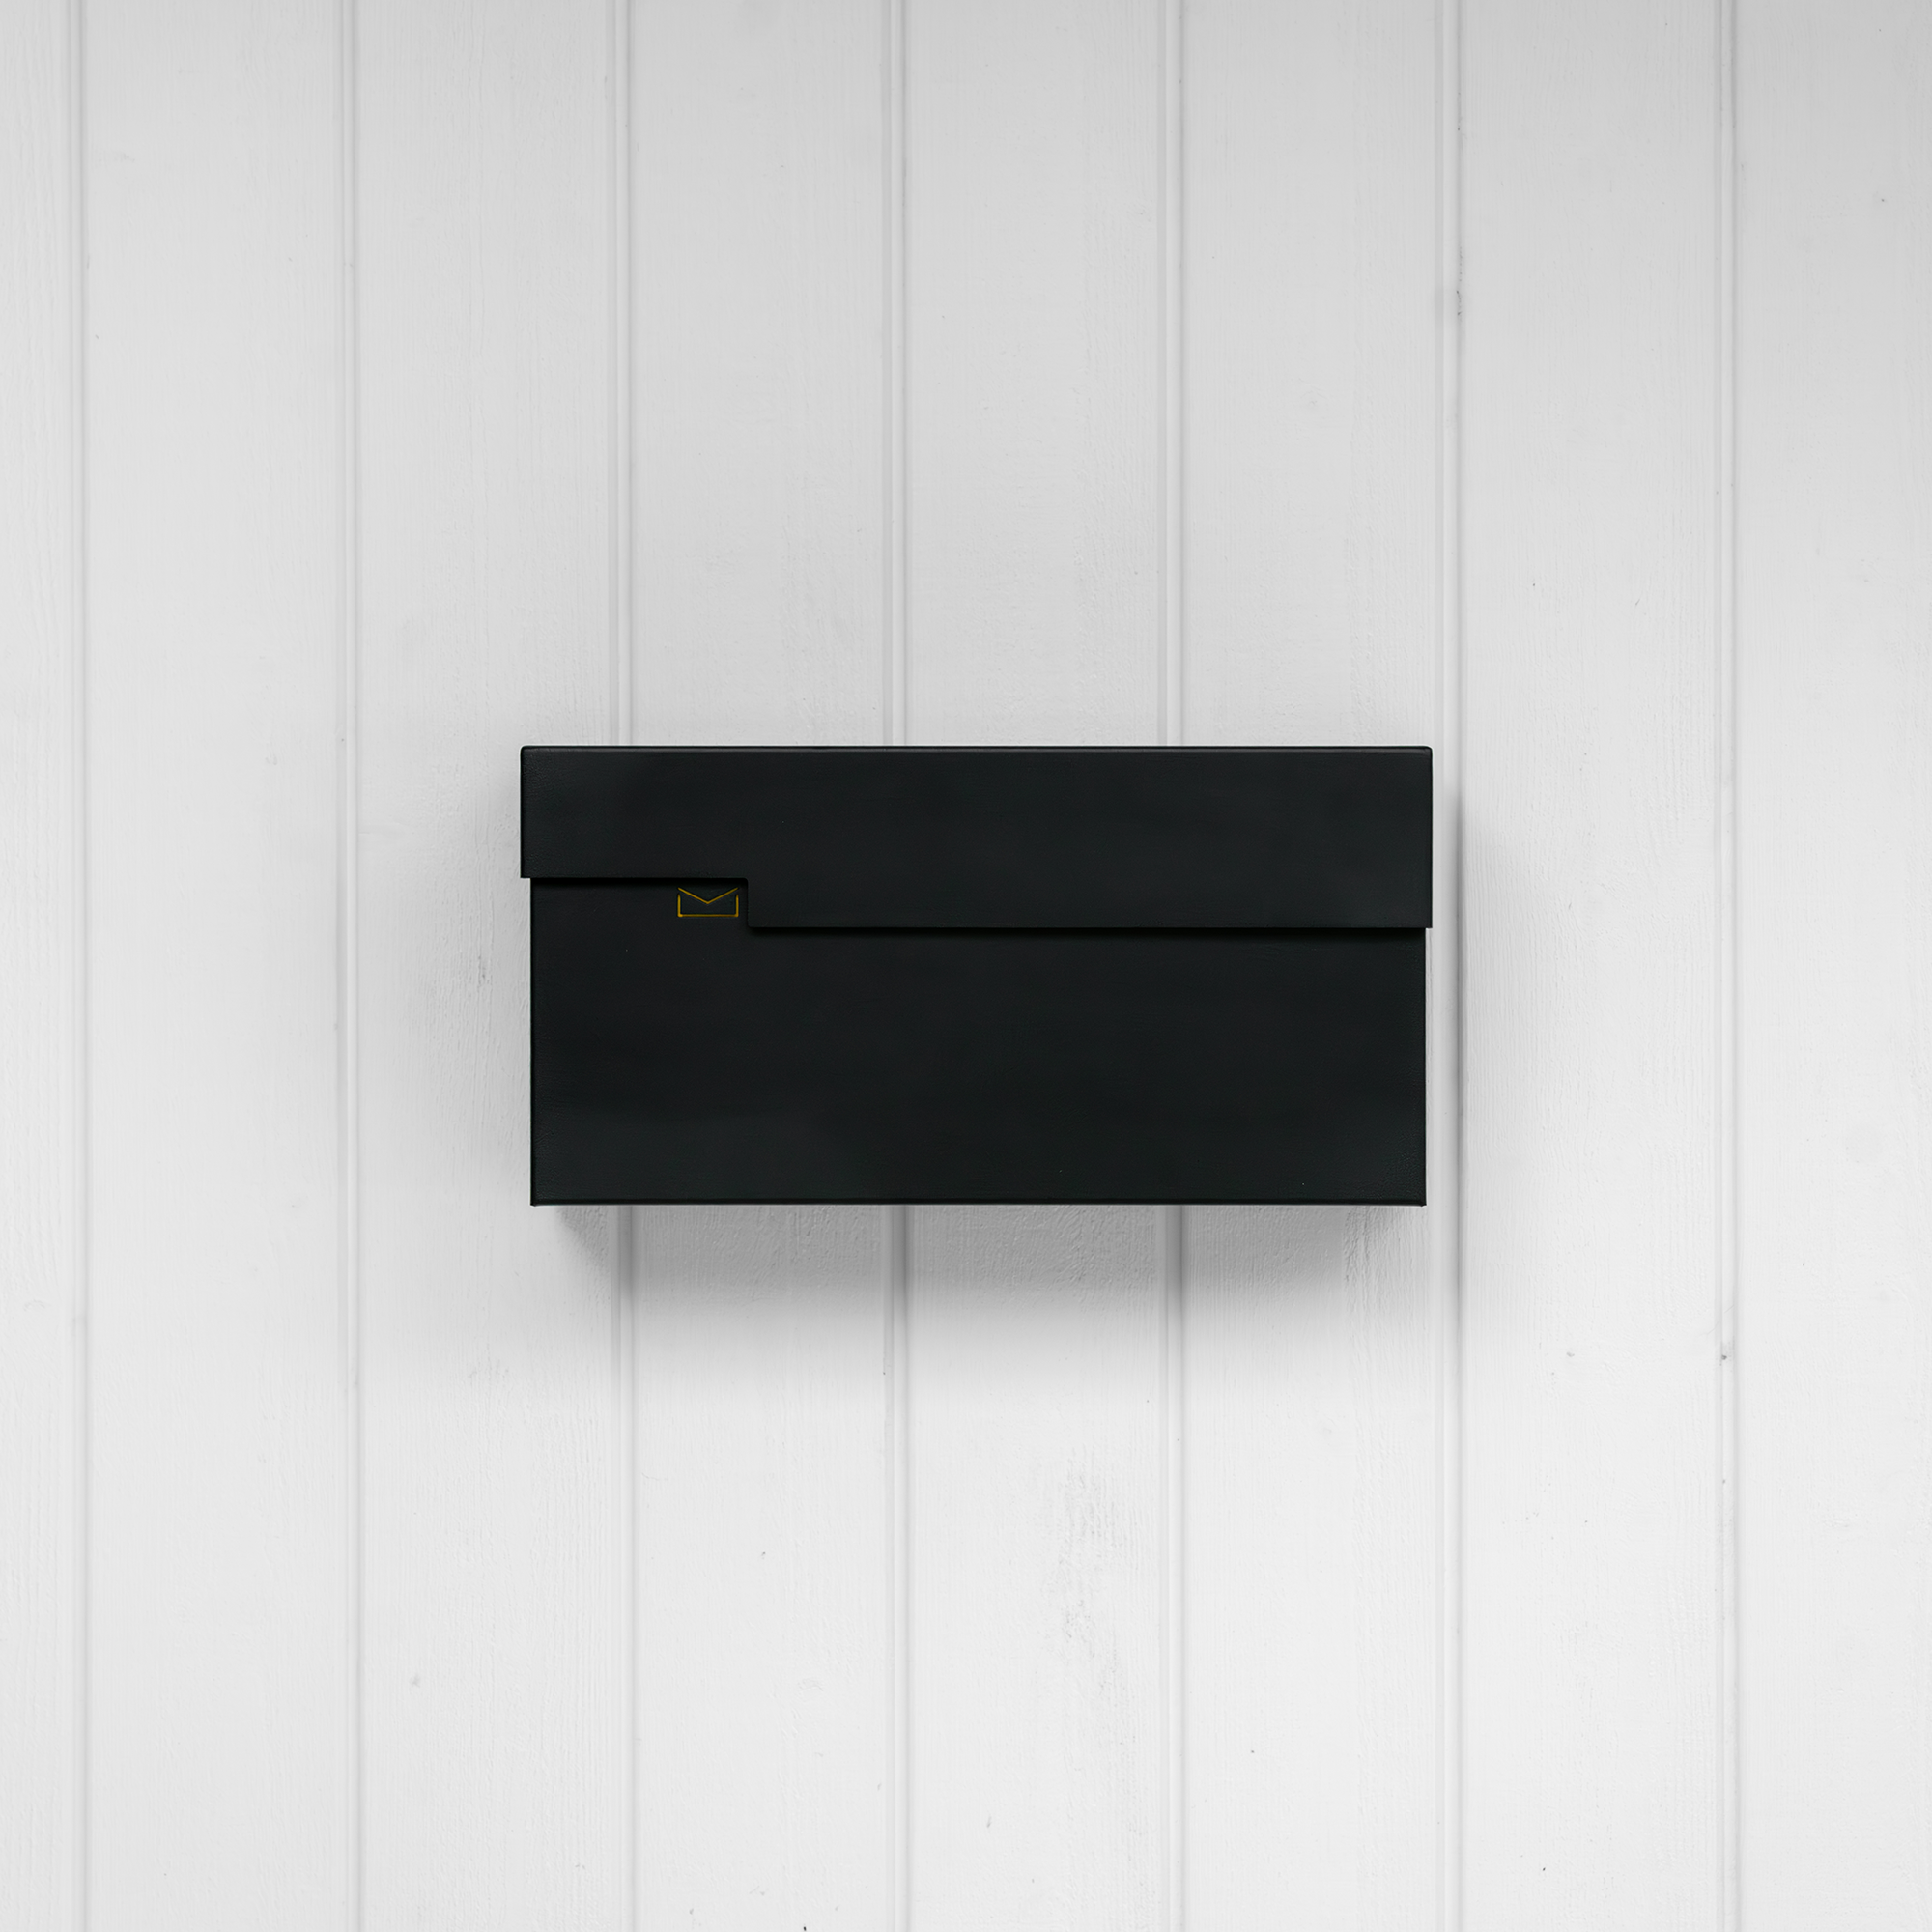
Mailboxes

- Regular price
-
From
$150.00 - Regular price
-
- Sale price
-
From
$150.00
Installation Steps
- Place the adhesive level in the designated area.
- Mark the 3 holes on the wall using a pencil.
- Drill holes if necessary depending on your wall covering.
- Screw the screws directly into the wall or into the anchors.
- Install your mailbox
Simple and adaptable installation
Your mailbox installation is quick and adaptable to most exterior claddings. Depending on your surface, you can screw directly into the wall or use anchors to ensure a solid attachment.
What's Included
- Sticker level
- 1/4-inch all-purpose wick
- Screws and anchors
- Mini marker
Linea or Linea Halo


Installation steps
Linea Halo
- Insert the level into the aluminum bar.
- Mark the 3 holes on the wall.
- Drill the holes and plan a central hole for the electrical wire.
- Pass the wire for the 24V power supply and install the transformer near an outlet.
- Screw the aluminum bar to the wall and adjust with the spacers if necessary. Check the level before securing firmly.
- Position your numbers and letters to determine the spacing. Measure the gaps, cut the plastic rod, and insert the spacers.
- Make the electrical connections. Install the black bar and the end caps.
Linea
- Insert the level into the aluminum bar.
- Mark the 3 holes on the wall.
- Drill the holes (if your siding requires anchors, use the provided drill bit). Install anchors if necessary.
- Screw the aluminum bar to the wall and adjust with the spacers if needed. Check the level before securing firmly.
- Position your numbers and letters to determine the spacing. Measure the gaps, cut the plastic rod, and insert the spacers.
- Install the black bar and the end caps.
A simple system, with or without lighting
The Linea model offers an elegant solution for displaying your address, with the option of a lit or unlit version. You get the same sleek design while choosing the level of functionality that suits your project.
What's included with your purchase
- Aluminum extrusion
- Black extrusion
- Custom numbers and letters
- Plastic rod for spacers
- 1/4 inch all-purpose drill bit
- Screws and anchors
- Mini marker
- Level
- Connectors (lighted version only)
- Transformer (lighted version only)
- Electrical wires (lighted version only)
Bungalow

Installation Steps
- Assemble the templates using adhesive.
- Screw the rods onto the back of the numbers.
- Position the numbers and check the level. Mark the holes on the siding using the template.
- Drill the holes using a 1/4 inch drill bit.
- Add silicone to the rods.
- Install the numbers by inserting them into the holes.
A simple and accessible solution
The Bungalow model is designed for simple and accessible installation. Available in hardware stores, it is ideal for residential projects carried out with tools already available at home.
Its slimmer design integrates well with bungalow-style homes and urban environments.
What's included with your purchase
- Figures
- Threaded rods
- Positioning jig
Trash stickers

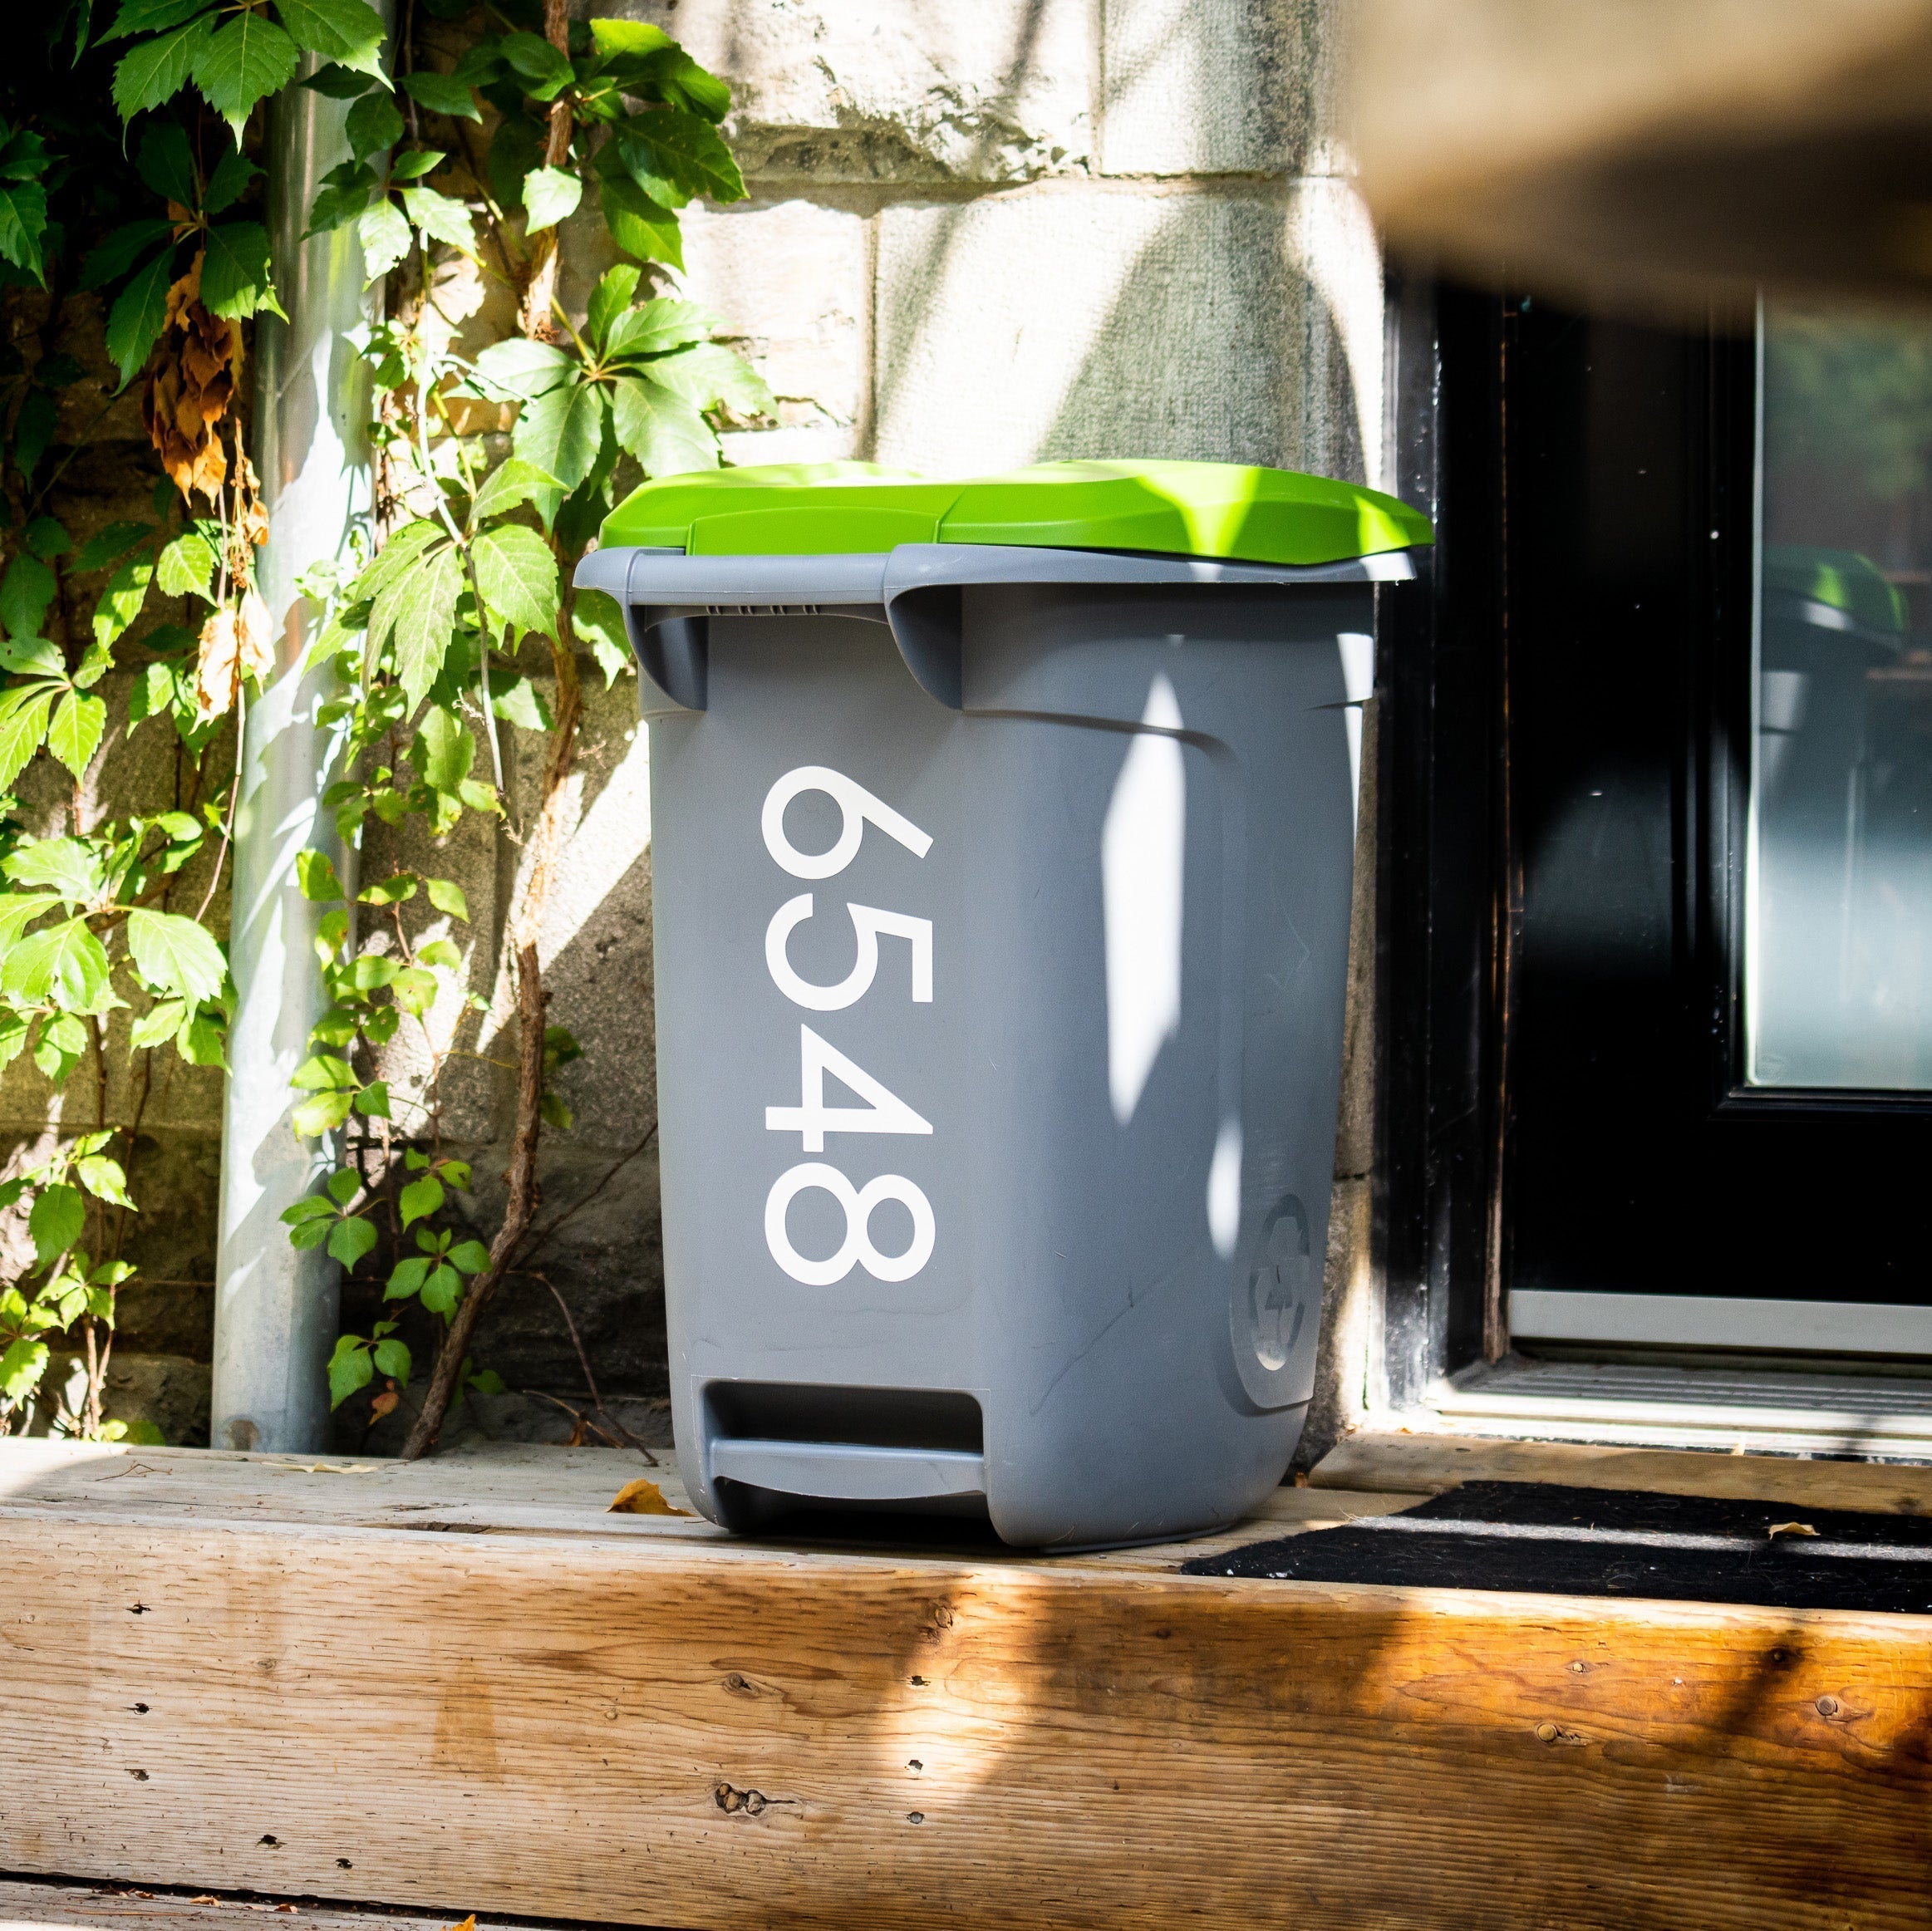

Installation steps
- Clean and dry the bin surface
- Position the sticker using the transfer film
- Press firmly to ensure proper adhesion
- Carefully remove the transfer film
Easy installation
A simple way to coordinate your bin with your civic address. These stickers help clearly identify your bin while creating a cohesive look with your home exterior. They are easy to apply on a clean, smooth surface, without tools, for a neat and durable result.
What’s included with your purchase
Custom sticker with transfer film